My process; aka:

How my items are made

A long process …

Stamping might seem simple, but there are many steps in the process. Take a look at the slideshow below to see how my one-of-a-kind items are made.

The Process of Hand Stamping - Step by Step

Let’s get started!

Selecting a blank

I have five boxes of blanks with various types of metals. I generally work with copper and aluminum, but I also use brass (a hard metal, but inexpensive), sterling silver (expensive at $10 a disk), and nickel (many people have nickel allergies). I do not stamp on stainless steel because it ruins my stamps.

Punching the Blanks

You need a special set of pliers to punch holes in metal. Despite the power these have, they still cannot punch through pennies – for that, I need to use a drill.

Line up the Stamp

I carefully line up each letter so that it matches the prior letters as well as the direction I am headed. I occasionally put a single guiding line through the center of the blank to help keep me on track (especially on round or shaped blanks). The line comes off in the polishing phase.

Hit the Stamp!

Give the stamp a good, solid whack with the hammer. If you hit too hard, the metal will buckle. If you hit too softly, you won’t make a  deep enough impression. If you hesitate, you might cause shadowing -where the stamp jumps and creates a shadow image. If you mess up, the bank is toast – even if you’re 120 characters into a dog tag – into the trash goes the blank, and you start from scratch.

Dye

Both copper and brass (as well as coins) react to a chemical solution that colors the metal. As you can see, the chemical does not only cover the letters but the area around the letters as well. This problem is solved during polishing.

Aluminum is a bit different

Whereas copper and brass react to chemical dye, aluminum does not. The only way to color aluminum is with a Sharpie. However, to set the color, the aluminum must be baked for an hour after polishing is complete. The benefit of aluminum is how lightweight it is, as well as the fact that very few people have aluminum skin allergies.

Polishing

After the color has set, I pull out my dremel and polish each piece. After dremeling, I use a polish pad to clean up the polishing compound. It takes care to polish pennies – too much and the copper disappears and the silver color takes over.

Tumbler

Finally, the finished pieces go into my tumbler for a final polish.

Not pennies though! By experience, it does not work well.

Assembling and Packing

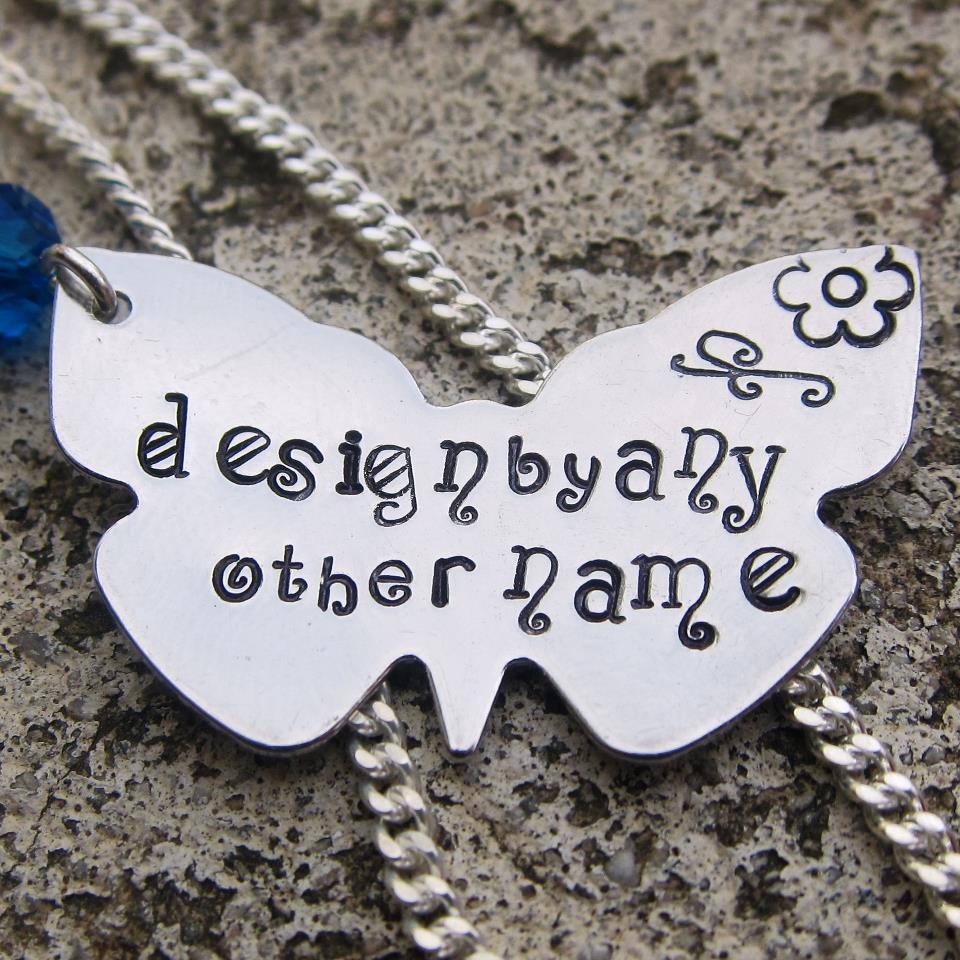
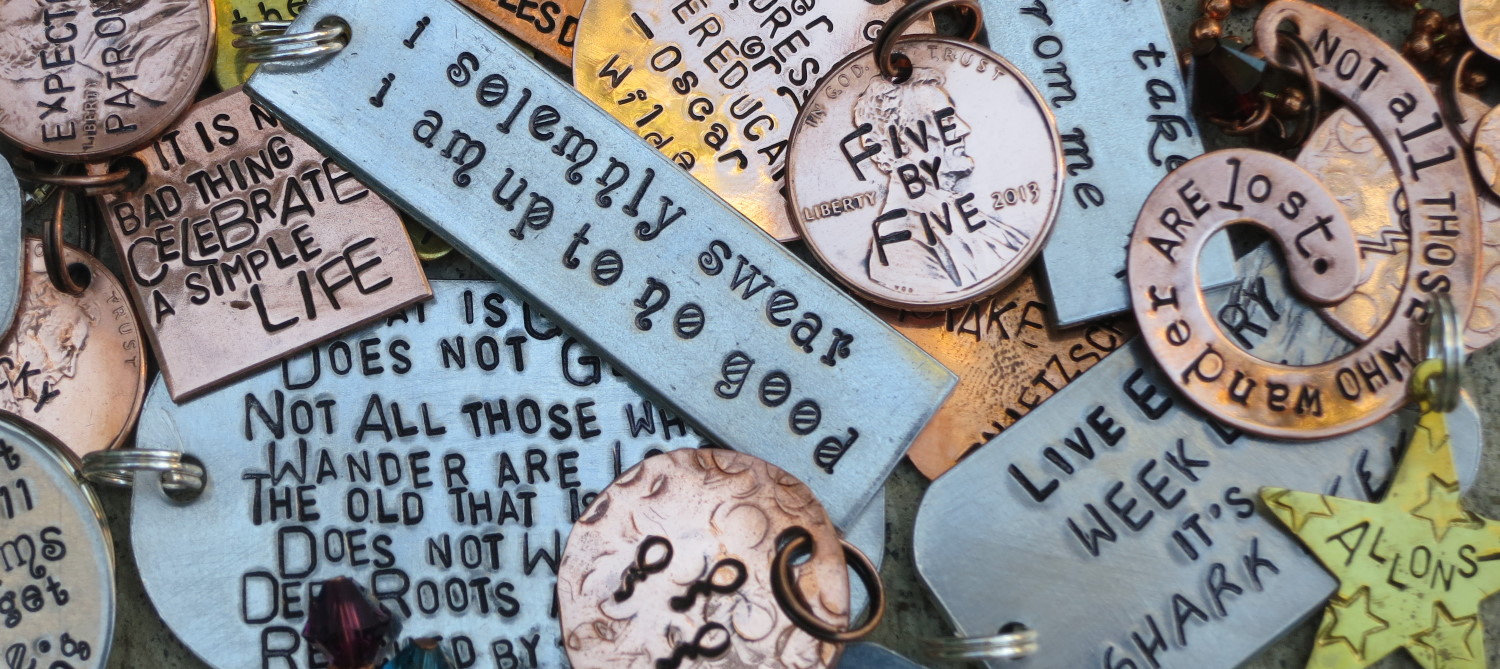
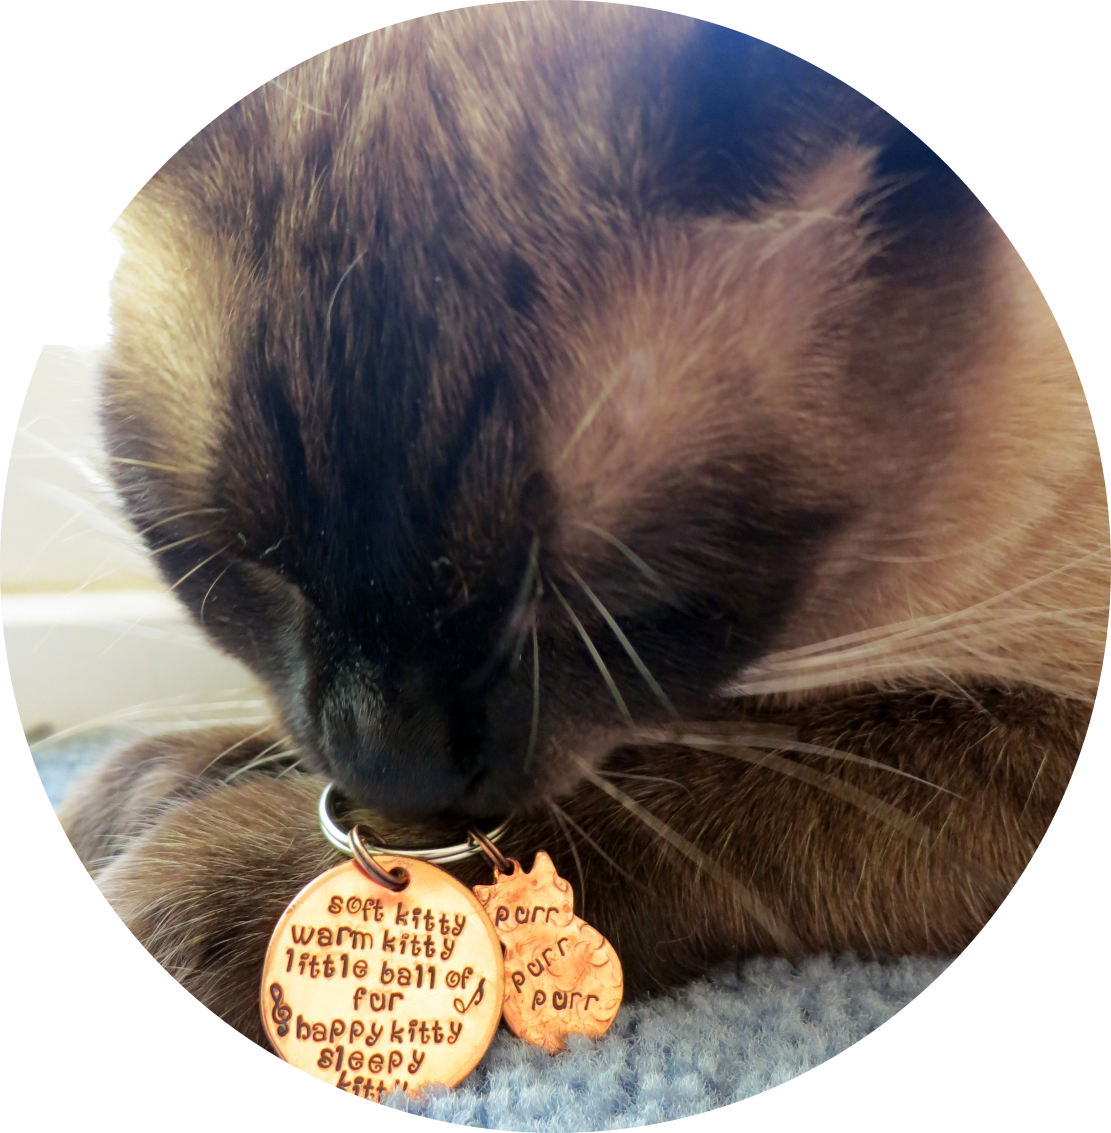
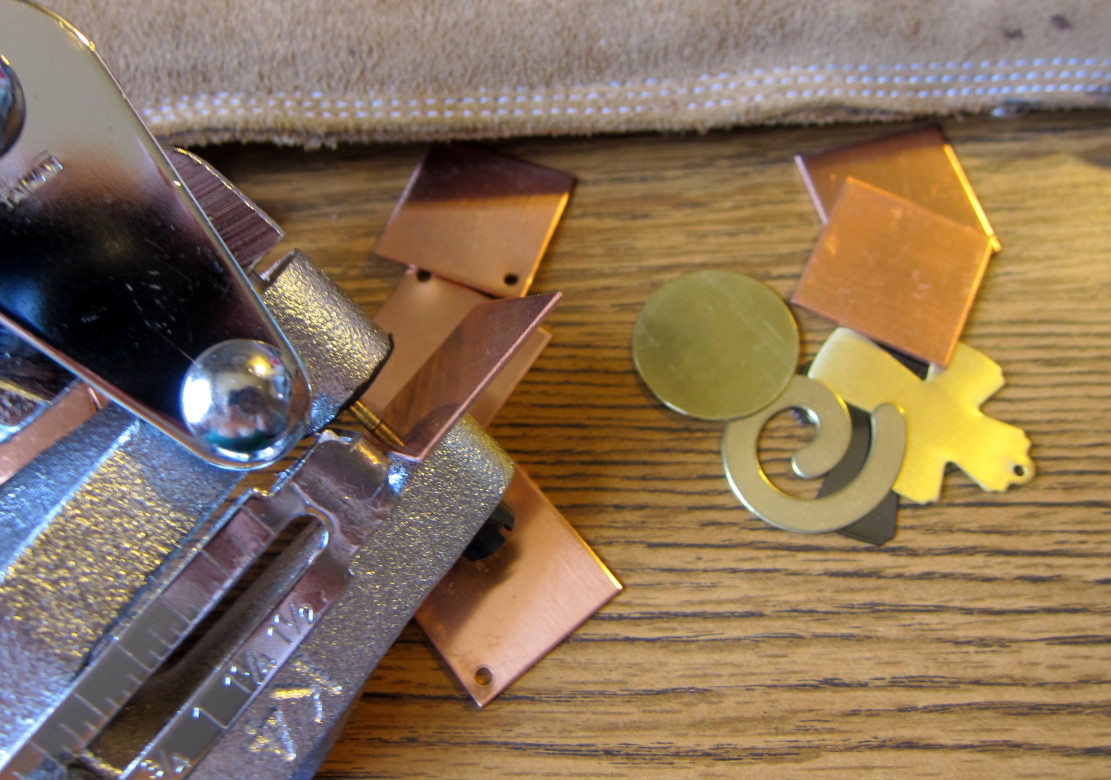
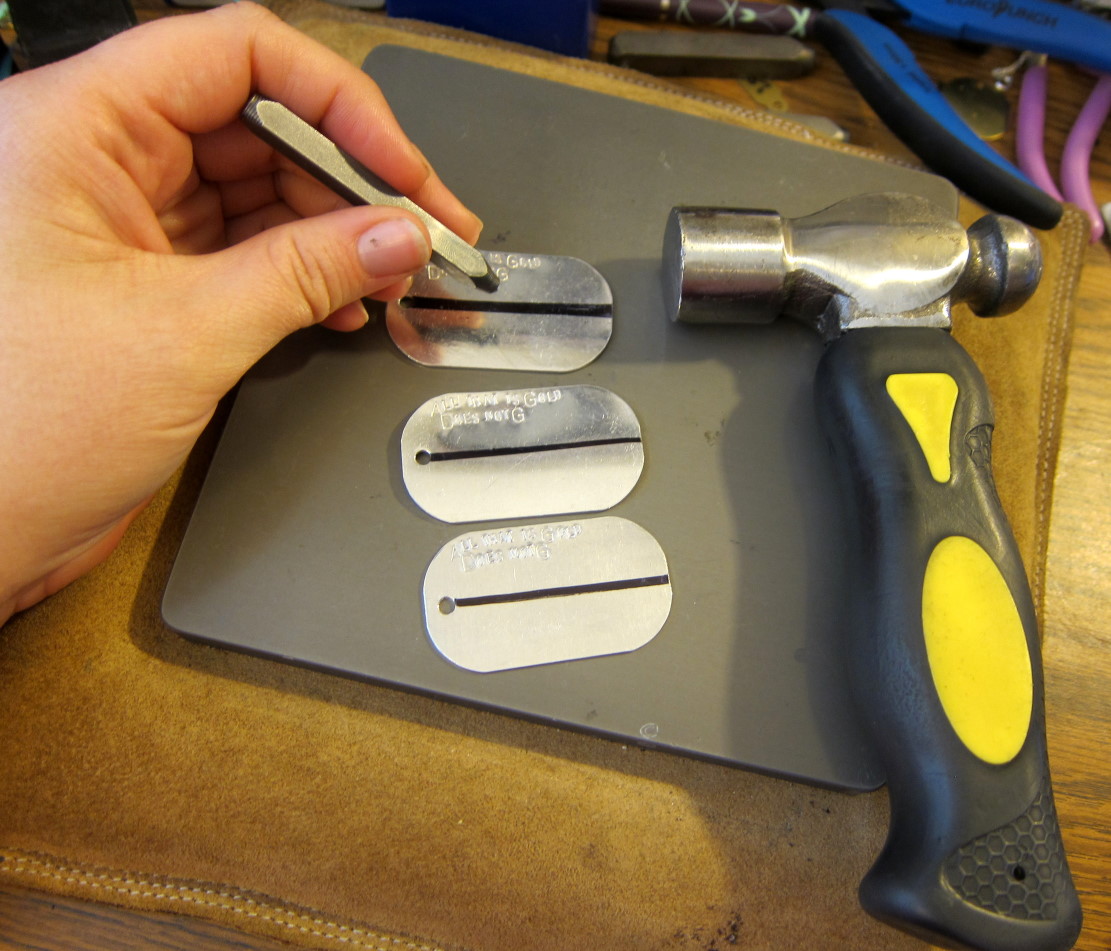
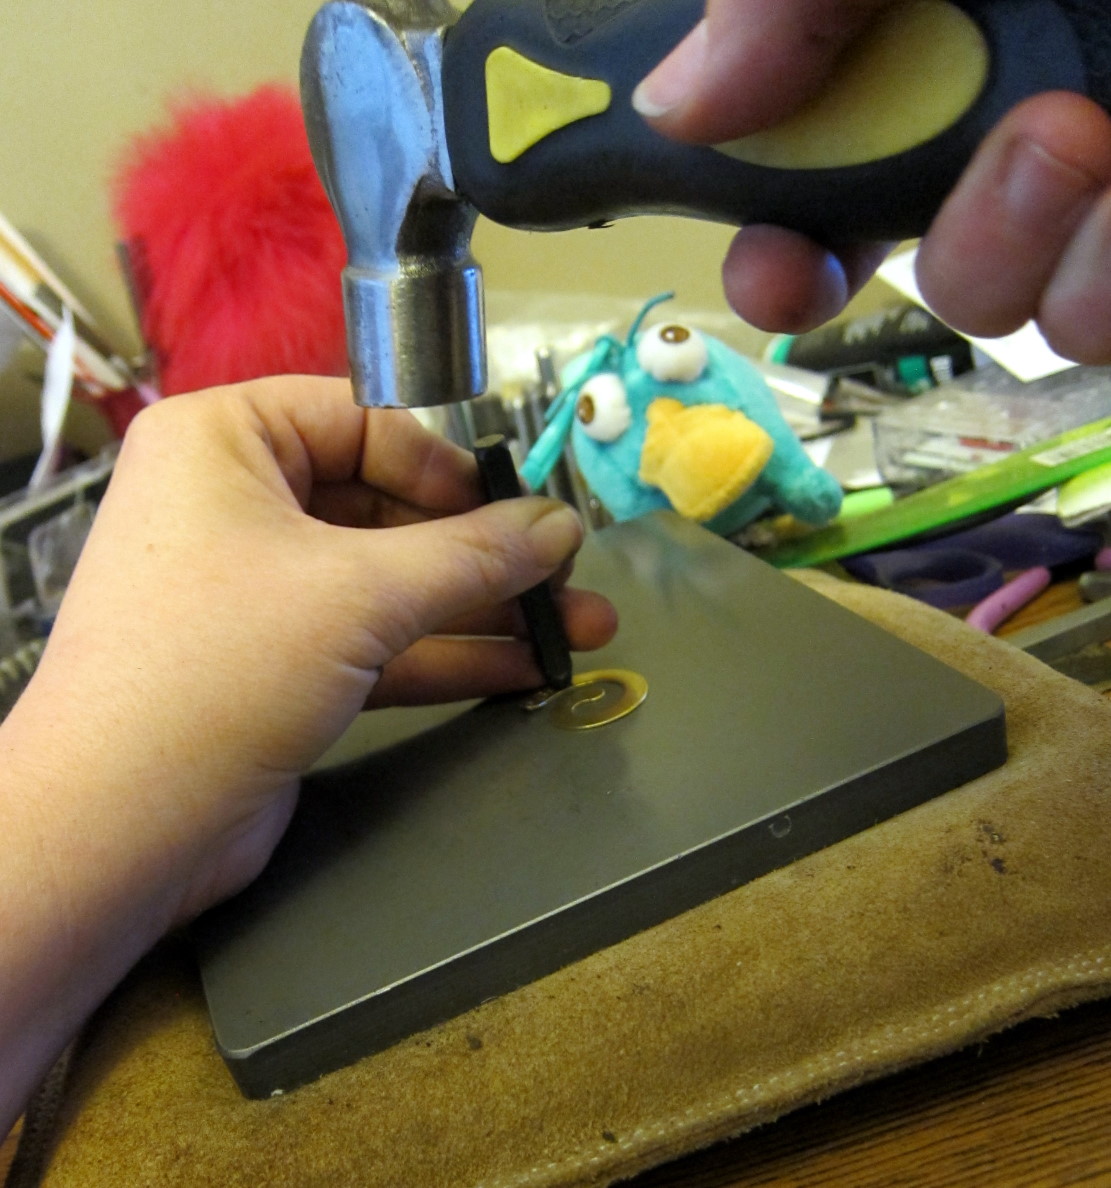
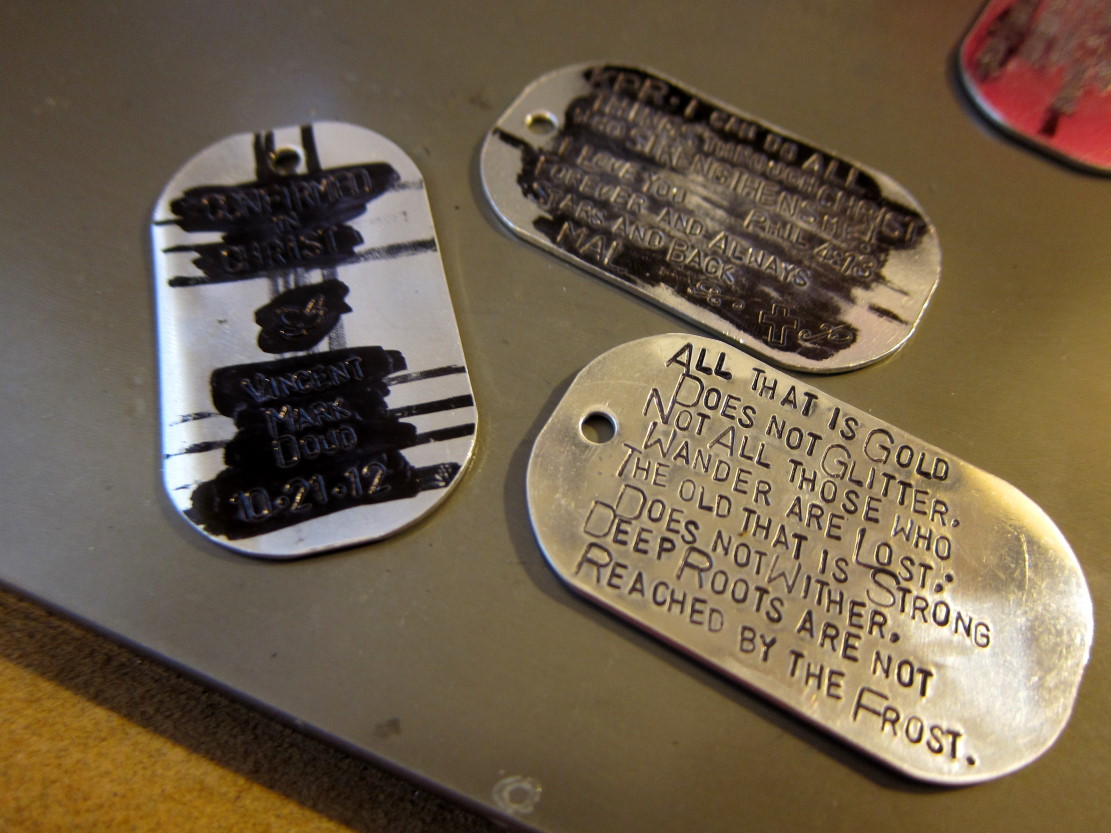
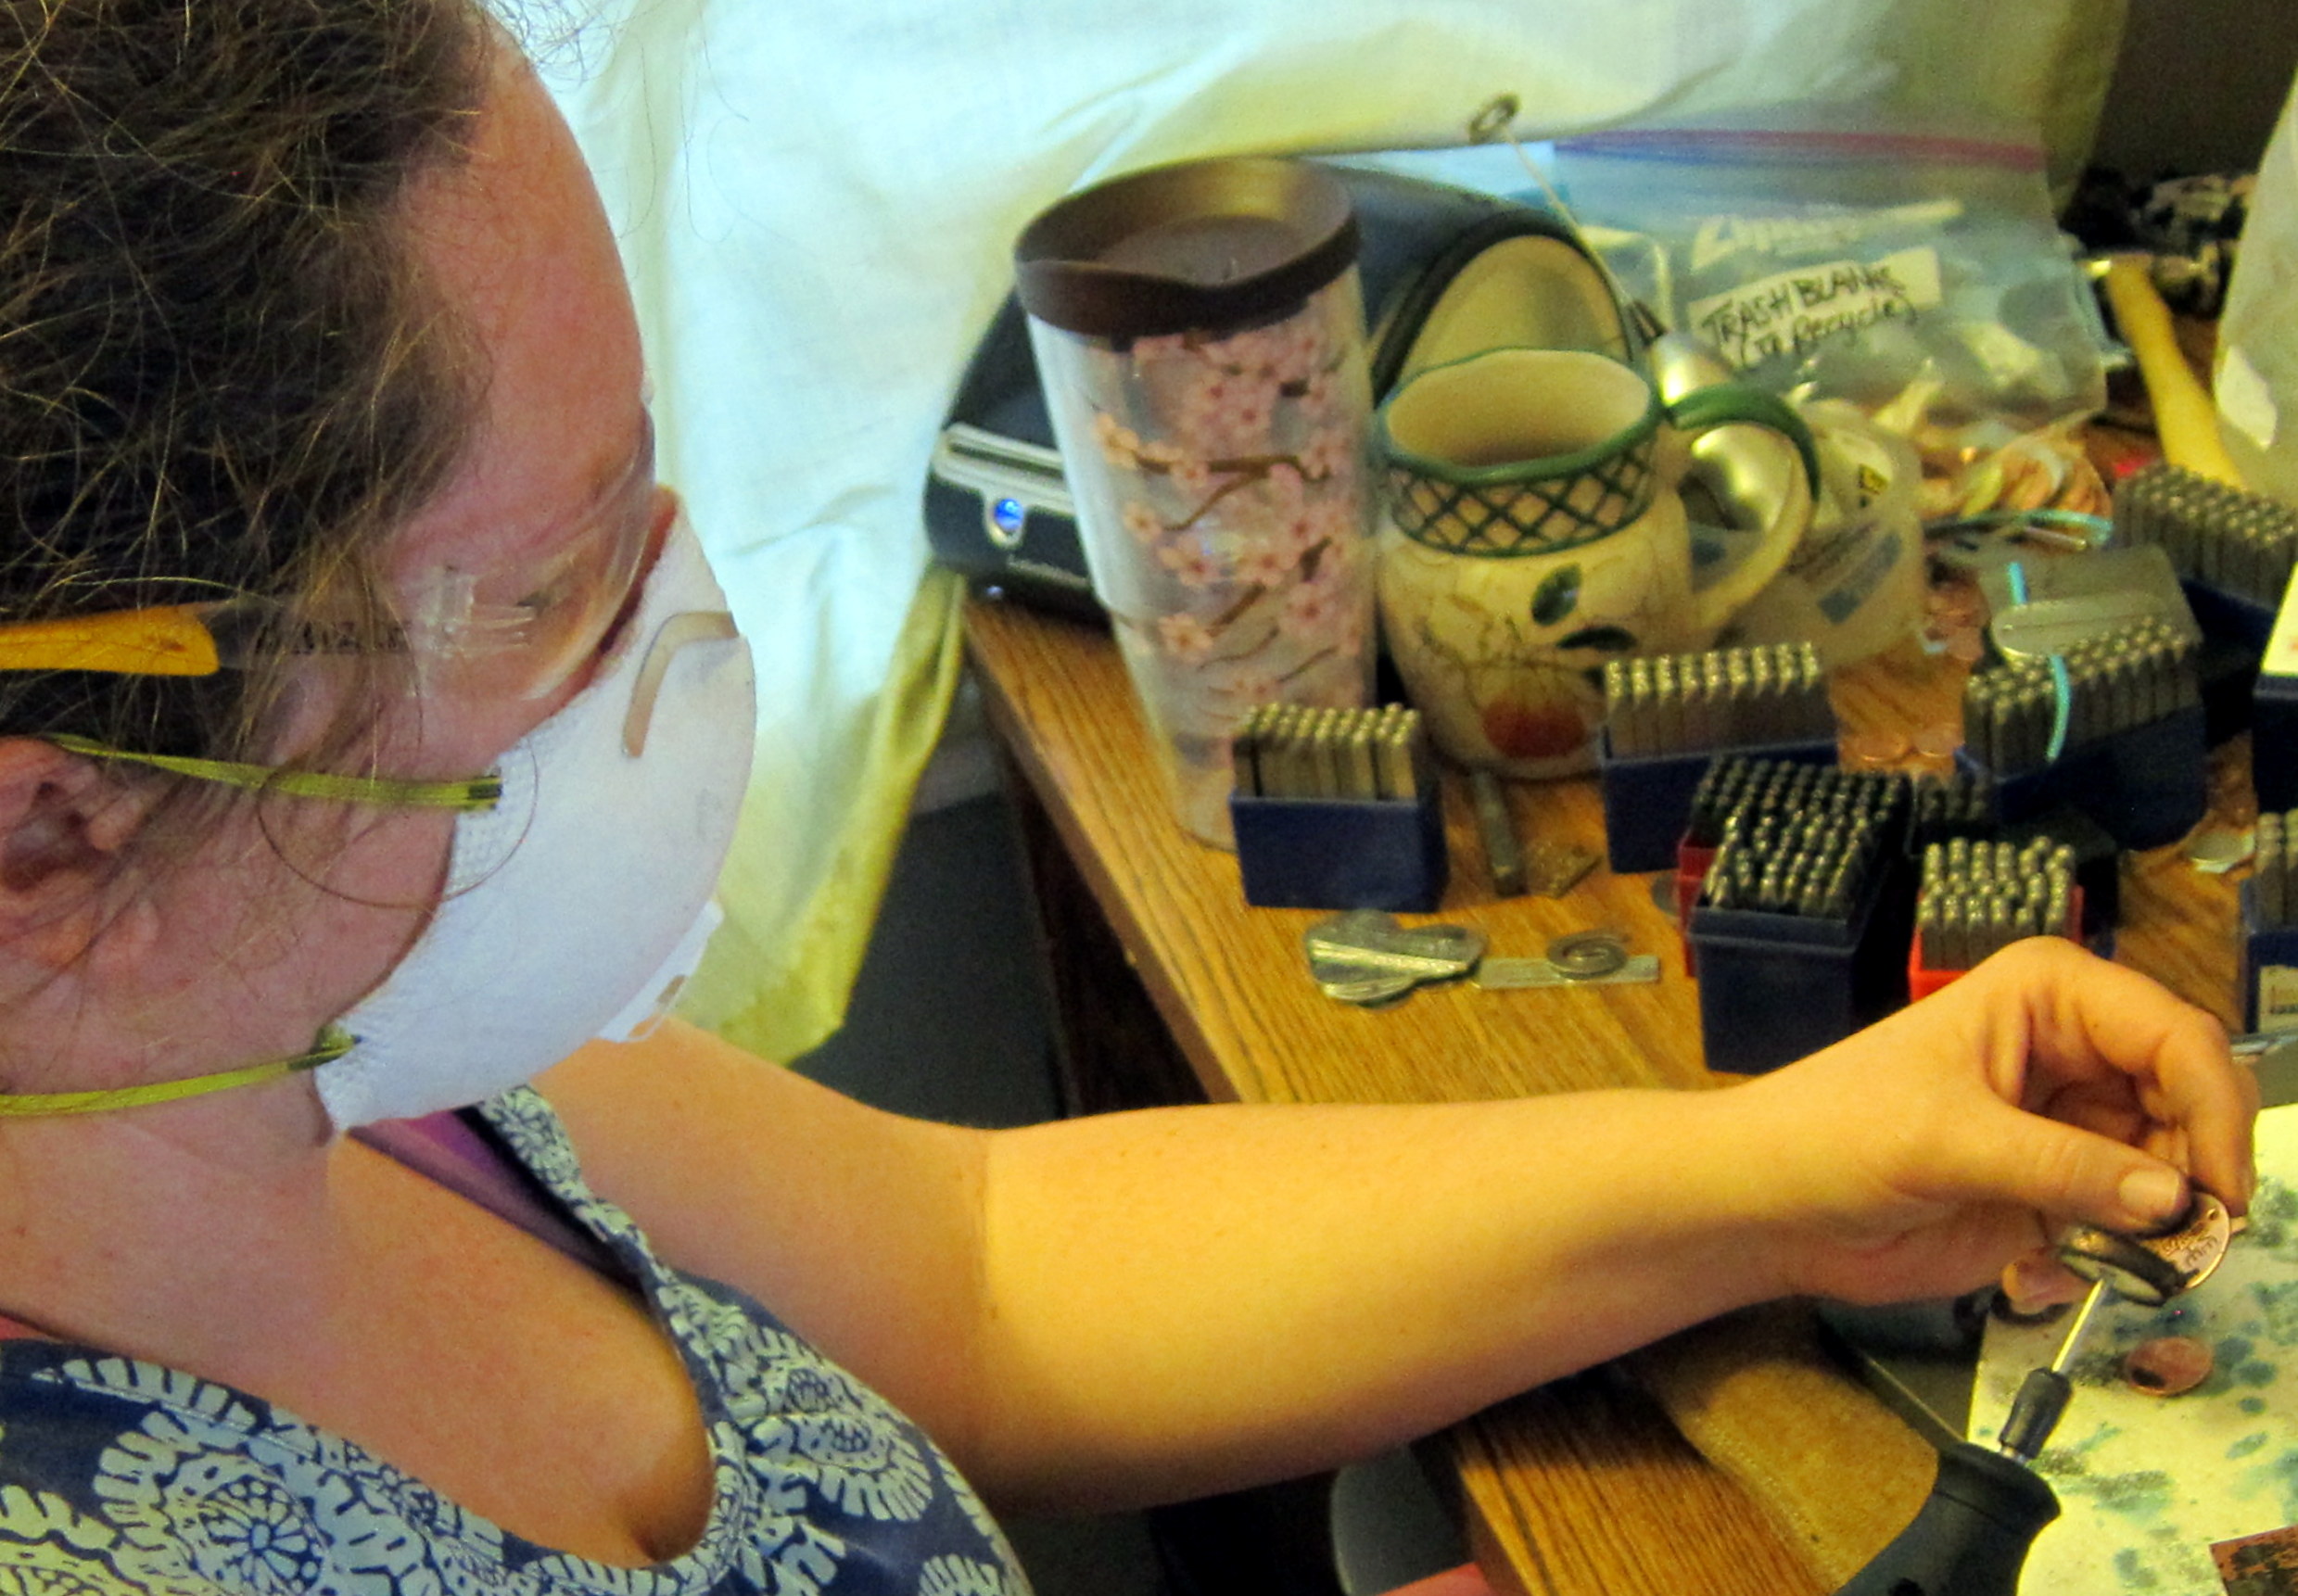
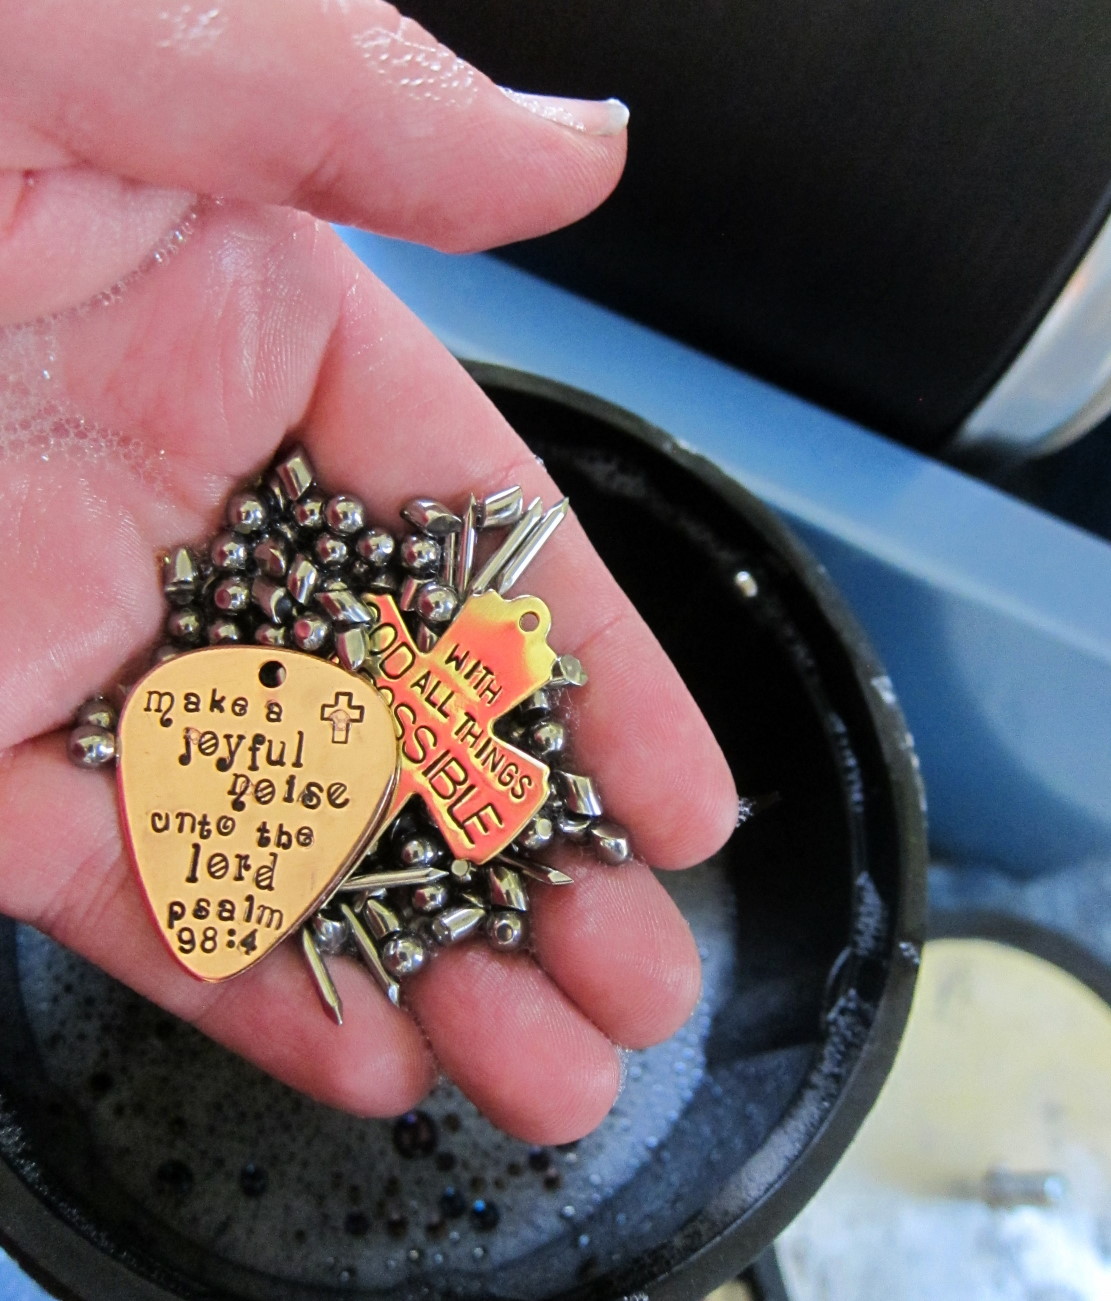
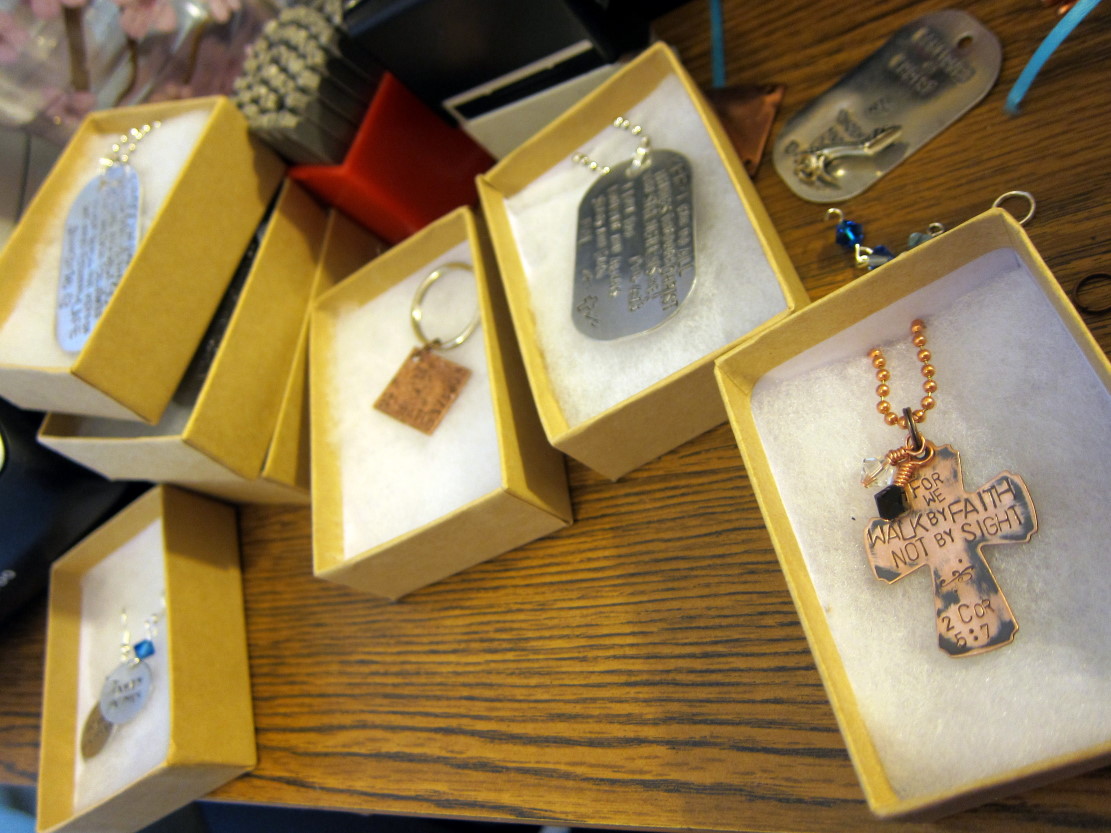
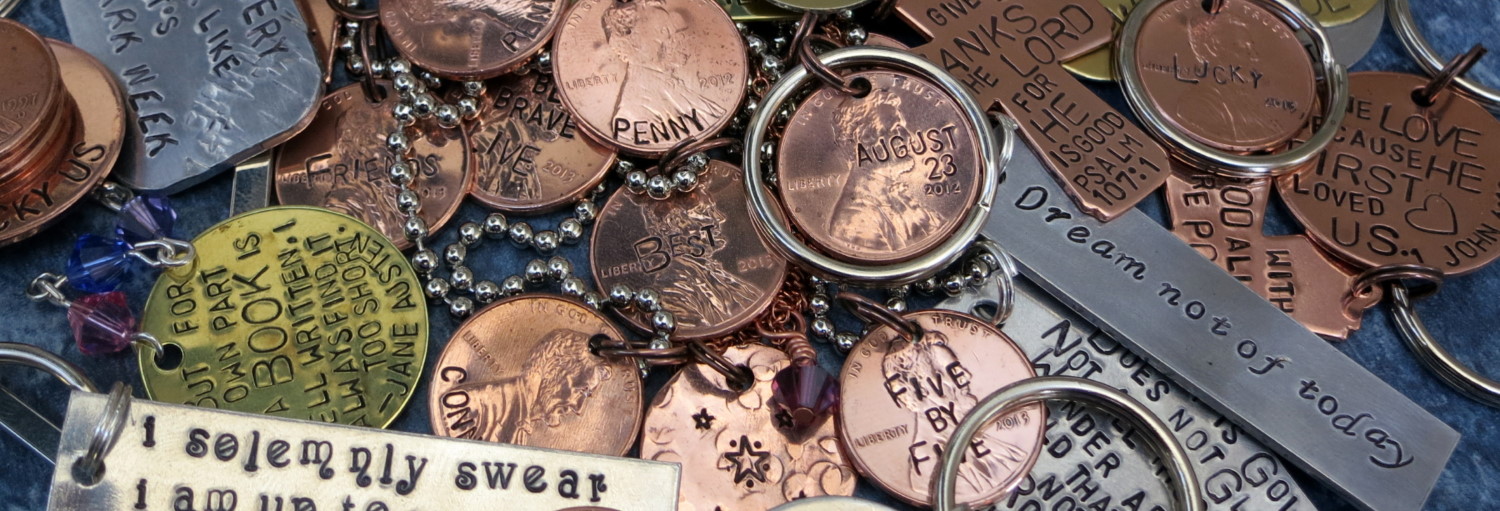
Once the metal is completely finished, the rest is easy. Pieces are hung on small jump rings (double for security; I find single jump rings separate too easily). Chain and Swarovski beads are added to necklaces, or key rings to key chains. 

After that, the items are packed in boxes, wrapped in tissue paper, and sent via USPS. Then it’s on to the next order!

And that’s it!